



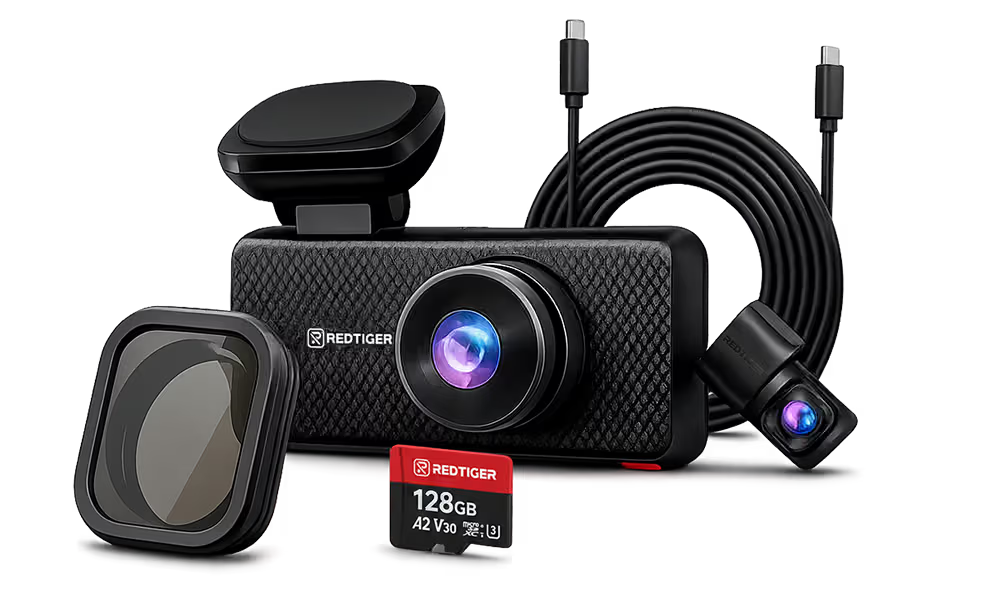



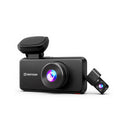
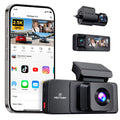

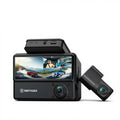











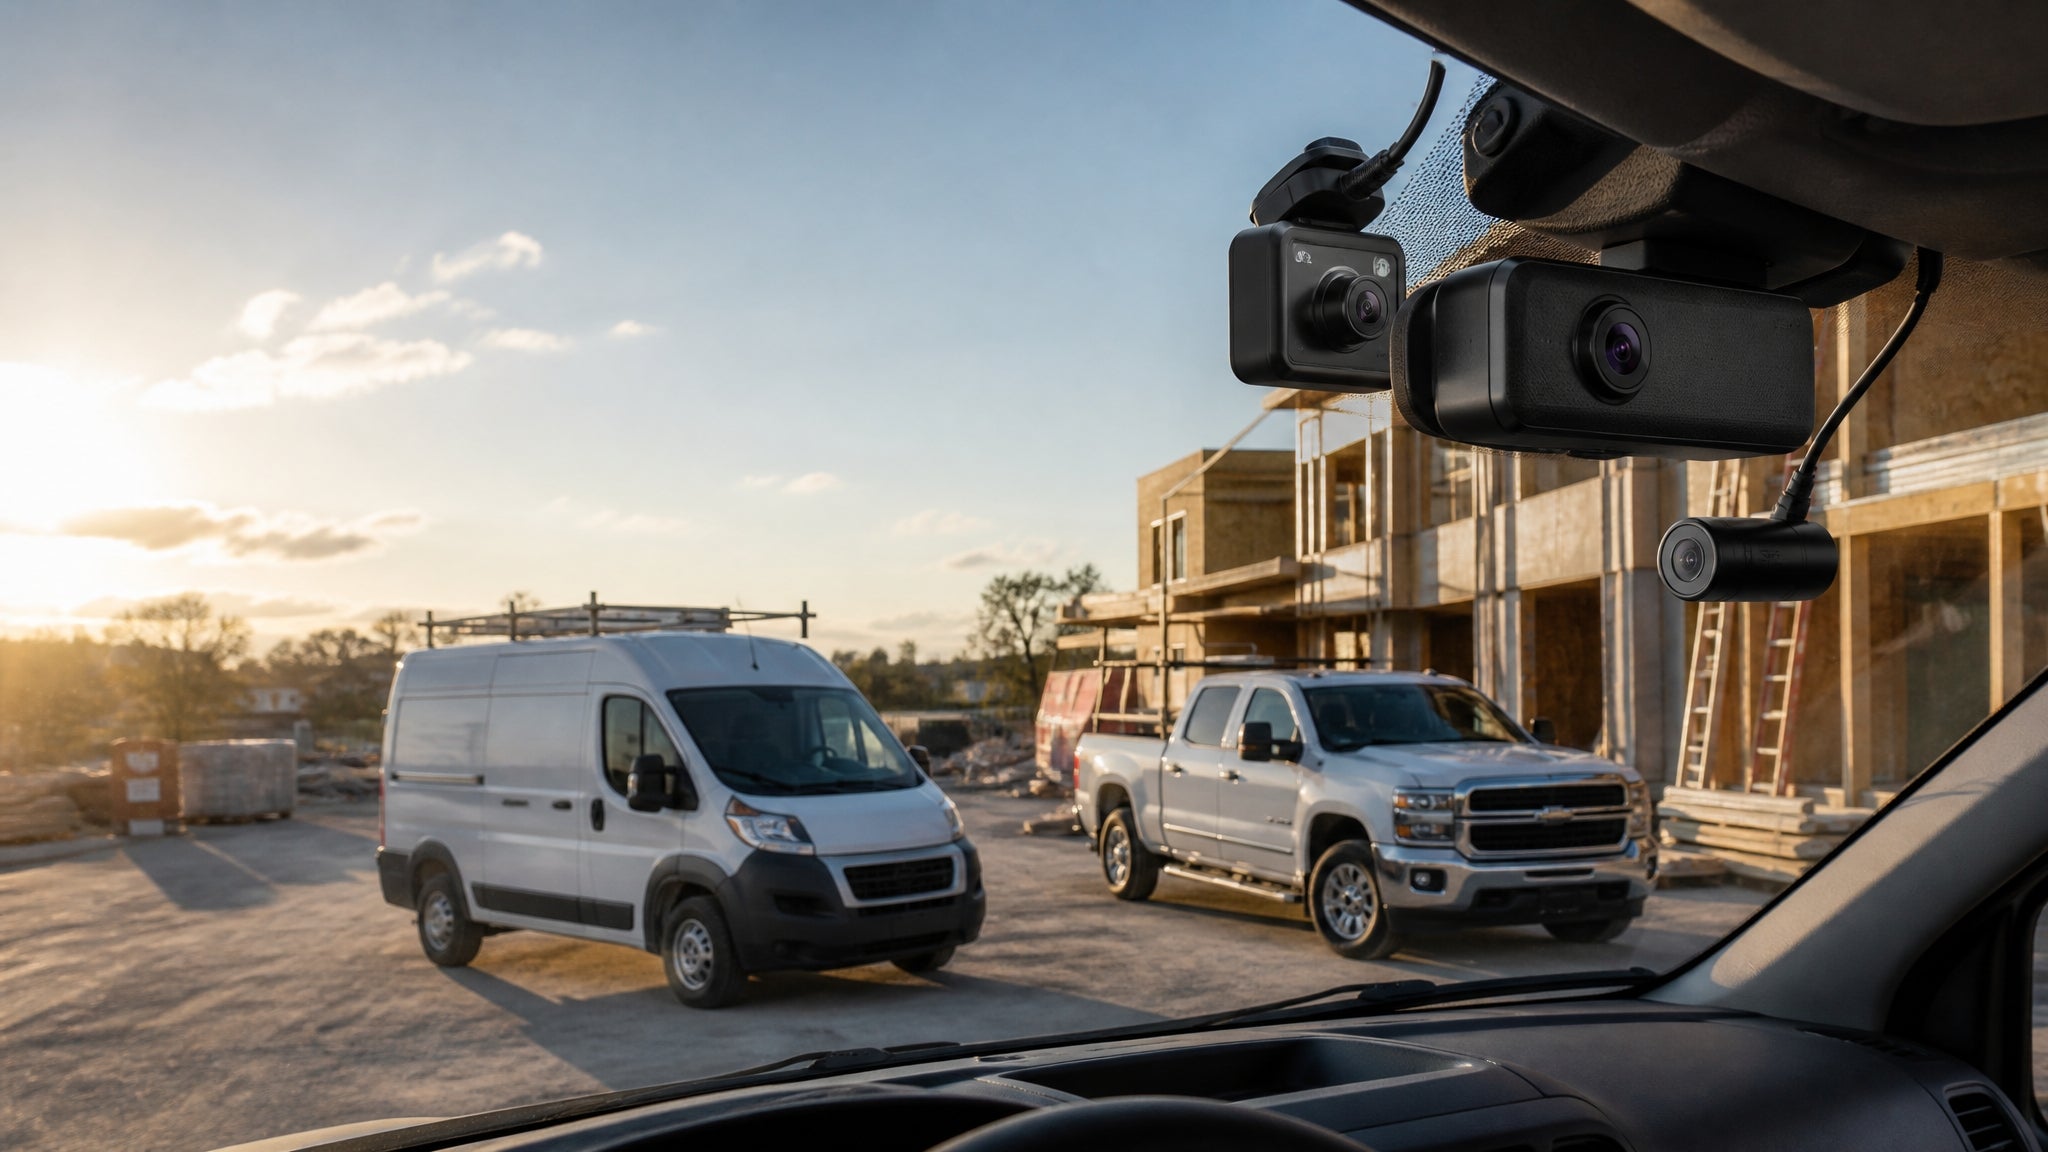
Installing a dual-channel dash cam takes 45–90 minutes and requires no special tools beyond a plastic trim tool (included with most REDTIGER cameras). This guide covers every step from mount placement to first recording: camera positioning, cable routing, power connection options, and initial configuration.
What You'll Need
- REDTIGER dual-channel dash cam (F7NA or F7NP)
- Isopropyl alcohol (70%+) and a microfiber cloth
- Plastic trim removal tool (included in the box)
- For hardwire install: test light or multimeter, fuse tap
Step 1: Plan Camera Positions
Before touching the adhesive, confirm your mount locations with the cameras held in place by hand.
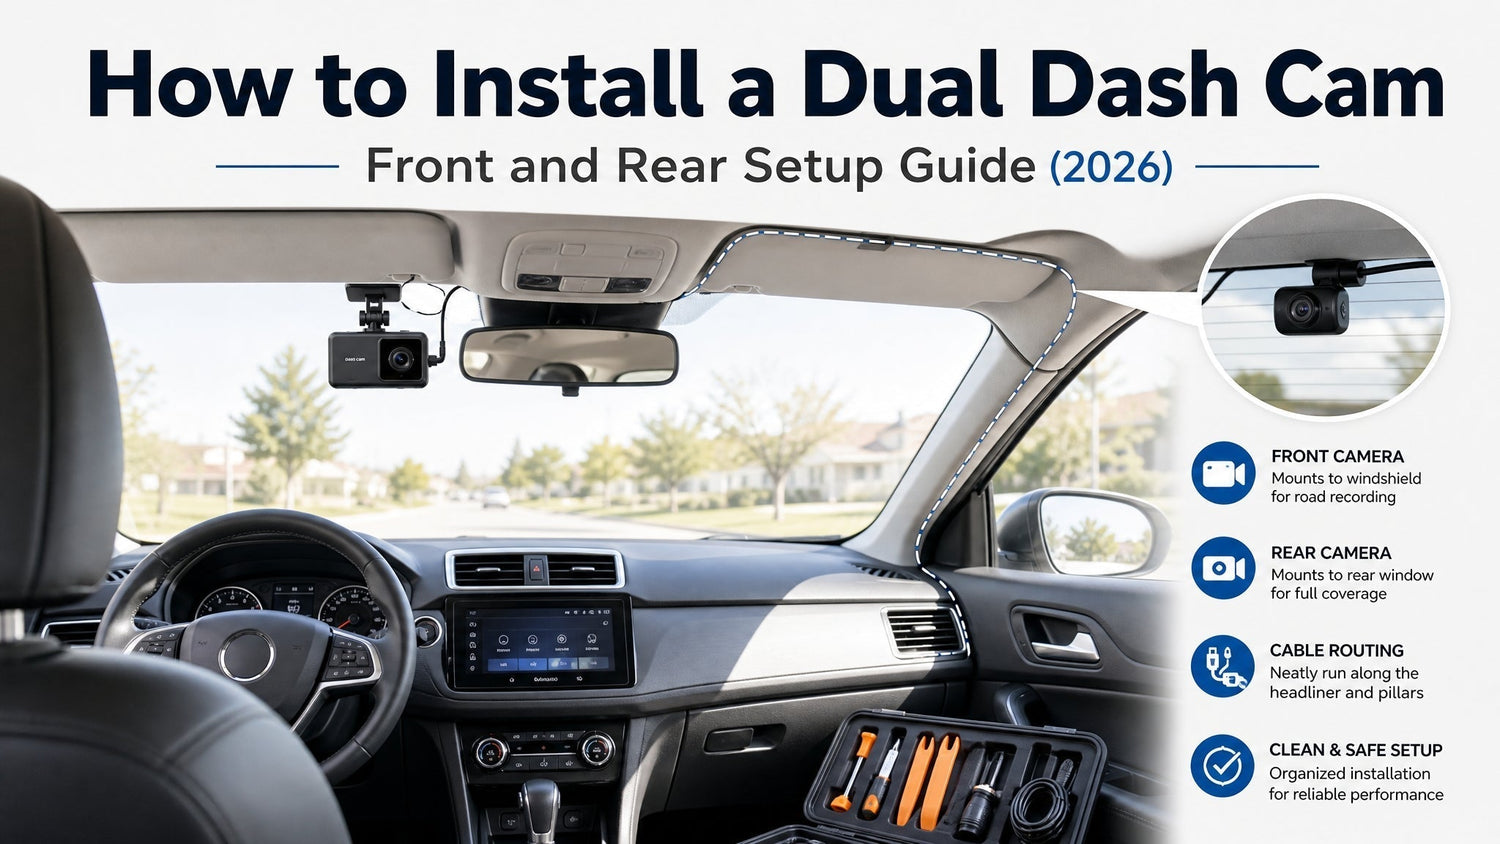
Front camera: Center of the windshield, directly behind the rearview mirror. This keeps the camera out of the driver's sightline and within the wiper sweep zone — important for clean footage in rain. Aim for the upper 15% of the windshield height.
Rear camera: Two options depending on vehicle type.
- Sedan / coupe: Center-top of the rear windshield, above the rear defogger heating element grid lines. Place above the top heating element line — mounting adhesive over the elements does not cause issues, but placement above them avoids any visual interference with the defogger pattern.
- SUV / hatchback with liftgate: Place on the fixed rear glass above the liftgate glass seam, not on the liftgate panel. If mounted on the liftgate, the rear cable will be pinched and damaged every time the liftgate opens. The fixed glass section avoids this entirely. See Step 5 for the routing consequence.
Step 2: Clean Mounting Surfaces
Adhesive mounts require a clean, oil-free surface. Cold or oily glass causes the mount to fail within days.
- Wipe the front windshield mounting zone and rear glass zone with isopropyl alcohol on a microfiber cloth
- Wipe in one direction — do not circular-scrub, which redistributes oil
- Wait 30–60 seconds for the alcohol to evaporate fully before applying the mount
- If installation temperature is below 50°F, warm the glass with a heat gun or hair dryer for 30 seconds — cold glass significantly weakens adhesive bond
Step 3: Mount the Front Camera
- Peel the adhesive backing from the mount pad
- Press the mount firmly against the cleaned windshield for 30 seconds — sustained pressure is more effective than pressing and releasing
- Attach the camera to the mount bracket
- Angle check: tilt the camera so the horizon line sits in the upper third of the live preview image. Road surface should be dominant in the frame, not sky
- Do not apply full cable tension for 24 hours — the adhesive reaches full cure strength after 24 hours at room temperature
Step 4: Mount the Rear Camera
- Clean the rear glass mounting zone as in Step 2
- Place the rear camera mount at center-top of the rear windshield, above the defogger heating elements
- Press firmly for 30 seconds
- Angle the camera slightly downward — road surface should fill the lower two-thirds of the rear frame
- Route the rear camera cable into the headliner before tightening any trim
Step 5: Route the Rear Cable
This step determines whether the installation looks clean. The rear cable connects the rear camera to the front unit via the A-pillar → headliner → rear pillar path.
Standard routing path:
- Start at the front camera, tuck the cable behind the A-pillar trim
- Run along the headliner edge toward the rear of the vehicle
- Down the C-pillar (sedan) or D-pillar (SUV) to the rear camera
How to tuck the cable: Use the plastic trim tool to press the cable into the gap between the headliner and the roof trim molding. The cable sits inside the trim edge, invisible from the cabin, without removing any panels. Most vehicles have 3–5mm of flex in the headliner edge — enough to seat the cable cleanly.
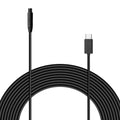
Critical: hatchback and SUV liftgate warning. Do not run the rear cable through the liftgate hinge area or down the liftgate panel. Every time the liftgate opens, the cable flexes at the hinge point. Over weeks, this cuts through the cable insulation. Route the cable down the D-pillar to the fixed glass section instead. Most REDTIGER rear cables are 6 meters — sufficient for standard vehicle lengths on this route.
Step 6: Connect the Rear Camera to the Front Unit
- Feed the rear camera cable from the rear of the vehicle back to the front unit, staying inside the headliner tuck
- Connect the cable to the rear camera input port on the front unit — typically labeled REAR CAM
- Press firmly until the connector clicks
- Verify the rear feed appears in the live preview on the front unit's screen before finalizing the route
Step 7: Connect Power
Choose Option A for a basic setup, Option B for parking mode.
Option A: 12V Cigarette Lighter (Basic Setup)
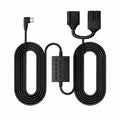
- Plug the included 12V power cable into your cigarette lighter socket
- Route the cable along the A-pillar tuck alongside the rear cable
- The camera powers on when the ignition starts and off when it turns off
- No parking mode — power cuts when the car is off
This option is fully reversible, requires no tools, and works immediately. It is the right starting point if you want to verify the camera setup before committing to a hardwire.
Option B: Hardwire via Fuse Box (Parking Mode)
Hardwiring connects the dash cam directly to the vehicle's fuse box, enabling parking mode when the ignition is off.
- Locate an ignition-switched fuse — live only when the vehicle is on. Common candidates: audio, accessory socket, interior lighting. Use a test light to confirm the fuse cuts power when you turn off the ignition.
- Insert the fuse tap into the ACC wire on that circuit
- Connect the ground wire to a chassis ground bolt near the fuse box
- Set the low-voltage cutoff: 11.8V for standard ICE vehicles. For electric vehicles, set to 12.2V to protect the smaller 12V auxiliary battery — see the full EV installation guide for EV-specific wiring.
The REDTIGER F7NP ($109.99) includes a hardwire kit in the box. The REDTIGER F7NA uses the separately available OBD Hardwire Kit ($33.99). For a full breakdown of parking mode power options, see the parking mode battery drain guide.
Step 8: First Power-On and Configuration
Format the SD card in-camera
Do not use a pre-formatted card from a computer. Go to MENU → Storage → Format. Formatting in-camera sets the file system and cluster size optimized for continuous recording. Computer-formatted cards cause file errors and playback issues.
Set date, time, and time zone
GPS timestamp accuracy depends on the clock being set correctly. For footage used in insurance claims or legal proceedings, an incorrect timestamp creates a reconciliation problem. Set the time zone before the first recording.
Confirm GPS lock
Drive outside briefly. Within 2–3 minutes, the GPS icon should appear on screen indicating a satellite lock. GPS requires open sky — underground parking and dense urban canyons slow the lock time.
Set ADAS calibration
In the ADAS settings, set the hood height marker to match where your vehicle's hood edge appears in the front camera frame. This calibrates Forward Collision Warning and Lane Departure Warning to your specific vehicle height and camera angle.
Configure loop recording
Set loop recording segments to 3 minutes. Shorter segments (1 min) create more files and more write cycles on the SD card. Longer segments (5 min) mean a larger window is locked when the g-sensor triggers.
Test parking mode
If hardwired: turn off the ignition and wait for the camera to enter parking mode (screen dims, recording indicator changes). Tap the vehicle firmly to confirm the g-sensor triggers an event recording. Verify the clip appears in the event file folder.
Frequently Asked Questions
How long does a dual dash cam installation take?
45–90 minutes for most vehicles. The 12V cigarette lighter option with basic cable routing takes 45 minutes. Hardwire installation via the fuse box, including fuse identification and connection, adds 20–30 minutes. SUVs and larger vehicles take longer due to the extended rear cable route.
Do I need to remove any interior panels?
No. The plastic trim tool included with REDTIGER cameras tucks the cable into the gap between the headliner edge and the roof trim molding without removing panels. The cable sits inside the trim cavity, invisible from the cabin. The A-pillar and rear pillar trim gaps accept the cable by pressing rather than disassembly.
What if the rear camera cable is not long enough?
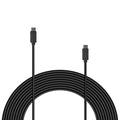
REDTIGER rear cables are 6 meters, which covers most standard vehicles on the A-pillar → headliner → rear pillar route. If your vehicle is longer — full-size SUV, minivan, extended cab truck — a dash cam extension cable is available. Do not splice the cable with standard wire; the cable carries both power and video signal, and an improper splice degrades image quality.
Does mounting a camera on the rear windshield affect the defogger?
No. The rear defogger heating elements are printed on the inner glass surface. Mounting the camera above the top heating element line — the recommended placement — has no effect on defogger performance. Adhesive pads placed over the element lines also do not affect the electrical circuit. The camera does not generate enough heat to interact with the defogger system.
Should I install a dual dash cam myself or hire a professional?
The 12V cigarette lighter option is straightforward DIY for any driver — no technical knowledge required. Hardwire installation requires identifying the correct fuse and using a fuse tap, which is accessible for most people with a 30-minute read of the vehicle's fuse box diagram. If you are not comfortable working near electrical circuits, a professional mobile installer or car audio shop will complete a clean hardwire in under an hour for $50–$100 in most markets.
REDTIGER dual-channel options: The F7NP ($109.99) includes the hardwire kit — the complete package for parking mode installation. The F7NA ($159.99) adds native 4K with Sony IMX678 STARVIS 2 for evidence-grade front footage. Both include the plastic trim tool and a 6-meter rear cable.


Leave a comment
All comments are moderated before being published.
This site is protected by hCaptcha and the hCaptcha Privacy Policy and Terms of Service apply.