


















Installing a dash cam on a convertible isn't that troublesome once you know where convertibles differ from a regular car. No fixed headliner runs the full length of the cabin, and the rear glass may retract or vanish entirely. Every cable has to survive a roof that's constantly folding open and closed.
Still, it doesn't require special tools or professional service. This guide explains how to install a dash cam on a convertible step by step. We'll cover everything, from picking the right dash cam to routing cables safely. It'll help you achieve a perfect setup that survives years of top-down driving.
Why Do Convertibles Need a Special Dash Cam Setup?
Convertibles need a slightly different dash cam setup than regular cars. Open-top driving creates constant wind and vibration. The interior also offers fewer stable mounting spots.
Parking with the top down raises the stakes if something goes wrong while you're away from the car. These conditions aren't dealbreakers, but they change what you should check before you buy.
What Makes Convertible Installation Different from Regular Cars
A sedan/SUV features a continuous headliner with a fixed rear window to run cables and mount a rear camera. A convertible's roof folds away into a storage compartment.
It means the rear glass moves, disappears, or shifts position depending on whether the top is up or down. That's what drives almost every other decision in this guide.
Key Features to Look For
- A Super Capacitor Instead of a Battery: Capacitors handle heat far better than lithium batteries. It becomes evident when your dash cam sits behind a windshield with no roof shading.
- A Strong 3M Adhesive Mount: Dash cams on convertibles see more wind buffeting at speed than in an enclosed cabin. Therefore, the mount needs to hold firm without loosening over time.
- 4K Sony STARVIS 2 on the Front and Rear: Interior-facing cabin cams mostly use the standard Sony STARVIS IMX307 sensor rather than STARVIS 2. Cabin lighting conditions don't demand the same low-light performance as the outward-facing lenses.
Before You Start: Choosing the Right Dash Cam and Tools
Before you touch a screwdriver, spend five minutes on channel count and gathering the right tools. Getting this part right upfront saves you from a mid-install trip back to the store.
Front-Only vs Dual-Channel vs 3-Channel
A front-only dash cam only records what's ahead, with no footage if something happens behind and/or beside your car. Dual-channel and front-and-rear options cover most convertible owners' needs.
It's the sweet spot for straightforward convertible dash cam installation. A 3-channel setup adds a dedicated interior, cabin-facing lens, which is worth it if you want a documented cabin view.
Budget Pick: REDTIGER F7NA 2-Channel
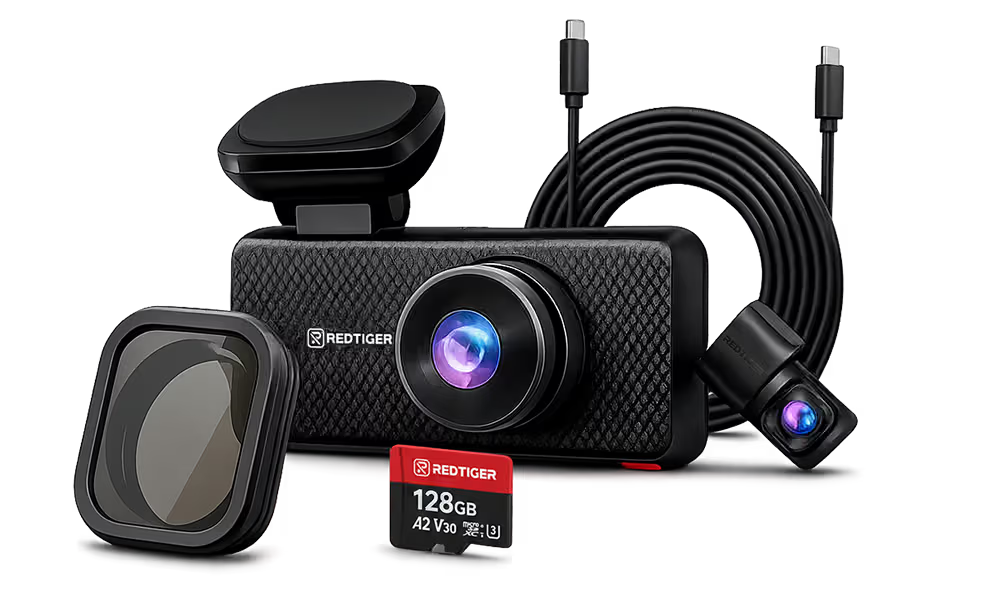
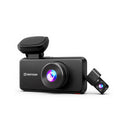
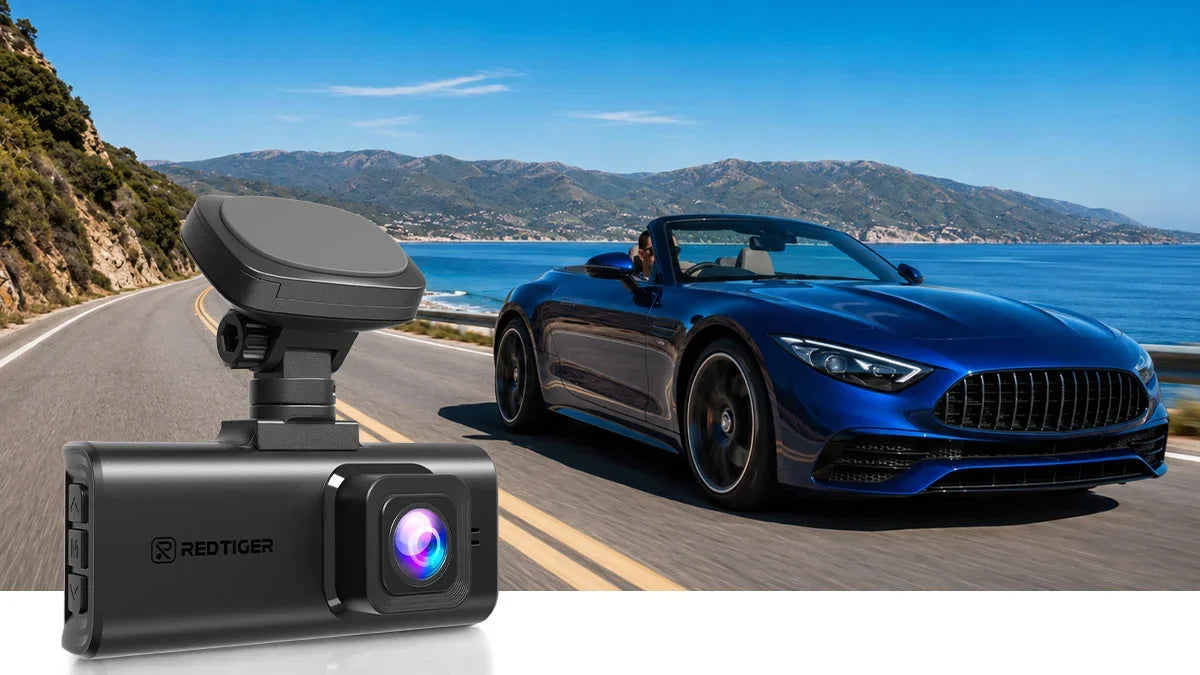
Many smart convertible drivers want solid image quality without paying for a third channel. The REDTIGER F7NA pairs a 4K front camera built on the Sony STARVIS 2 sensor with a 1080P rear camera. It also comes with a heat-resistant supercapacitor that minimizes the effects of direct sun exposure.
Tools You'll Need to Install the Dash Cam
- Cable clips, to secure the wiring along its route instead of letting it hang loose.
- 3M VHB tape, for a mount that holds through wind and vibration.
- Trim removal tool, for tucking cables behind interior panels without scratching or cracking the plastic.
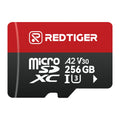
- A microSD card, formatted specifically for your dash cam before first use.
- Isopropyl alcohol, to clean the windshield surface before mounting anything to it.
Check Local Laws on Windshield Mounting and Audio Recording
Every state sets its own rules for where you can mount a device on the windshield. The same goes for recording audio with or without everyone's consent.
Do a quick check of your state's vehicle code before you enable audio recording. However, confirm the mounting spot first, not the audio.
Step #01: Mounting the Front Camera
Mounting the front camera is the most familiar part of the whole process. It's identical to installing a dash cam in any vehicle. You must get the right placement and give the adhesive enough time to cure.
Best Location: Behind the Rearview Mirror, Outside the Wiper Sweep Path
Center the camera behind your mirror. Position it low enough to stay within the wiper's cleaning path but high enough to avoid blocking your view.
Clean the Windshield with Isopropyl Alcohol
Wipe the mounting area thoroughly with isopropyl alcohol and let it dry fully before attaching anything. Leftover dust or window-cleaner residue weakens the adhesive bond from the start.
Wait 24 Hours Before Driving
Once the mount is in place, resist the urge to drive right away. The adhesive reaches roughly 90 percent of its ultimate bond strength after 24 hours at room temperature. A full cure takes up to 72 hours.
Convertibles expose the windshield-mounted camera to more direct wind force than closed cabins. So, give the adhesive a full 24-hour window before driving with the top down to let it sit properly.
Step #02: Powering Your Dash Cam (12V vs OBD-II vs Hardwire)
Your three main power options are a 12V cigarette lighter plug, an OBD-II adapter, or a hardwire kit. Each one trades installation effort for how much parking protection you get.
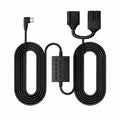
Convertible owners can benefit more from the extra protection a hardwire kit provides. Consider the REDTIGER Hardwire Kit to get the most out of your dash cam setup.
12V Cigarette Lighter: Easiest Install
Plug the power cable into your 12V outlet, and you're recording within minutes. However, it means no parking mode, as the outlet loses power once you turn off the ignition.
OBD-II Adapter: Easy Install, Supports Parking Mode
An OBD-II adapter plugs into your vehicle's diagnostic port. It also adds basic parking mode support without opening a fuse box. It's a reasonable middle ground if you want some parking coverage.
Hardwire Kit: Recommended for Convertibles
A proper hardwire kit taps directly into your fuse box. It provides dedicated, stable power and full 24/7 parking monitoring. A soft top offers less physical security than a hardtop or sedan. It makes continuous parking surveillance more valuable here than on most other vehicles.
Summary Comparison: 12V vs OBD-II vs Hardwire
| Method | Install Difficulty | Parking Mode | Best For |
| 12V Cigarette Lighter | Easiest, plug and go | No | Casual drivers who just want front/rear recording while driving |
| OBD-II Adapter | Easy, no tools needed | Yes, basic support | Drivers who want parking mode without opening the fuse box |
| Hardwire Kit | Moderate, needs fuse box access | Yes, full 24/7 support | Convertible owners who park outside and want full-time surveillance |
REDTIGER F17 Elite Supports All Three Methods
The REDTIGER F17 Elite works with any of the three power methods above. Its capacitor-based power storage holds up better than lithium alternatives in terms of heat resistance.
Step #03: Mounting the Rear Camera (Convertible Solutions)
Mounting the rear camera is where convertible dash cam installation differs from a regular car. There are three realistic options instead of one obvious spot. Your choice depends on how much rear-facing detail you need versus how much wiring complexity you're willing to handle.
Option A: Front Windshield Cabin-Facing Camera
The simplest option is to mount a cabin-facing camera alongside your front unit. It gives you an interior view rather than a true rear-exterior view. It requires no extra wiring beyond what you've already run for the front camera.
Option B: Rear Deck or Roll Bar Mount
Mounting a camera on the rear deck or a roll bar gives you a solid rear-exterior view. It's worth the trouble if you specifically want to document traffic behind you. But the wire has to travel the full cabin length to reach a power source.
Option C: External License Plate Frame
The most complex option mounts a weatherproof camera at the rear license plate. It requires a dash cam rated for outdoor exposure and involves the most wiring run. Go for it when other options don't fit your convertible's layout.
REDTIGER F17 Elite 3-CH: Front + Cabin + Rear
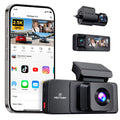
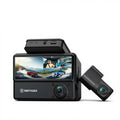
Some convertible owners want to skip picking just one rear-camera approach. The REDTIGER F17 Elite's 3-channel design covers front, cabin, and rear with three separate cameras in a single system. It gives you Option A and a version of Option B at the same time.
Step #04: Cable Routing, Testing, and Clean Up
Cable routing is where careful convertible dash cam installation pays off. A cable caught in the folding roof mechanism can cause real damage. Take a few extra minutes instead of rushing to the finish line.
Route the Cable Along the Headliner, Down the A-Pillar, Behind the Airbag
Tuck the power and rear-camera cables behind the headliner trim and down the A-pillar. Also, keep them well clear of the airbag. Never route a cable directly across an airbag panel.
NHTSA warns that aftermarket equipment mounted on or in front of an airbag's deployment path can interfere with proper deployment or become an injury-causing projectile during a crash.
Start the Engine, Verify Auto Power-On, Check Both Camera Angles
Start the engine after completing the installation. Confirm whether the dash cam powers on automatically. Check the live view on both the front and rear (or cabin) cams to make sure nothing is blocking either frame.
Format the microSD Card, Take a 5-Minute Test Drive, Review Footage
Format your microSD card directly in the dash cam's menu. Take a short test drive around the block. Pull up the footage afterward to confirm both channels are recording clearly. The same goes for audio, if enabled: make sure the sound is right.
Convertible-Specific Tips: Top-Down Protection and Common Mistakes
A few convertible-specific habits make a dash cam setup last across many seasons. Most of those come down to being mindful of heat, wind, and the moving roof mechanism.
Use a Low-Profile Mount, Remove the Cam in High-Theft Areas
A lower-profile mount reduces wind drag and looks less conspicuous with the top down. In high-theft parking areas, remove the battery-powered unit entirely when you park with the top down.
5 Mistakes to Avoid while Installing a Dash Cam in Convertibles
- Using a Suction Cup Mount in Heat: Suction cups can soften and lose grip in direct summer sun.
- Blocking the Airbag: Any cable or mount positioned across an airbag panel creates a safety risk during deployment.
- Running Cables Across Moving Top: A cable caught in the folding mechanism can snap, fray, or jam the roof.
- Using a Battery-Based Model: Battery-powered dash cams degrade faster under sustained heat.
- Forgetting the Rear Angle with the Top Up-and-Down: An angle that looks perfect with the roof up can shift out of frame once it folds down.
Best RedTiger Dash Cams for Convertibles
Three REDTIGER models cover the range of convertible owners' needs. It ranges from an all-in-one flagship to a value-focused dual-channel option and a night-vision specialist.
Best Overall: REDTIGER F17 Elite 3-Channel
It comes with 4K recording, WiFi 6, and a dedicated cabin channel alongside front-and-rear coverage. Rivian Forum says the F17 Elite is the ultimate option for full coverage for convertible owners.

Best Value: REDTIGER F7NA 2-Channel
It features native 4K front recording and a Sony STARVIS 2 sensor at a lower price point. The F7NA is a great pick for convertible owners who want strong image quality without a third channel (Mustang7G).

Best for Night Driving: REDTIGER ViewClear 70
It offers dual HDR and night-vision performance for low-light clarity. It makes the ViewClear 70 a good fit for convertible owners who frequently drive after dark and want usable nighttime footage.

Conclusion
Installing a dash cam on a convertible requires adapting to the challenges of open-top driving. Keep wind resistance, limited mounting space, and exposure to heat or theft risks in mind. The right approach, starting with a heat-resistant capacitor-based dash cam, can make a setup that protects you for years.
Convertible drivers need a dash cam setup that balances durability, discretion, and practicality. You can opt for a front-and-rear system like the F7NA, a three-channel powerhouse like the F17 Elite, or a night-vision specialist like the ViewClear 70. Only the right model ensures you capture everything safely and clearly.
Frequently Asked Questions (FAQs)
1. How do you install a dash cam on a convertible?
Mount the front camera behind the rearview mirror and choose a power method (12V, OBD-II, or hardwire). Pick a rear camera that fits your convertible, then route all cables around the folding roof. Test everything with the top both up and down.
2. Where does the rear camera go on a convertible?
You have three realistic options. First, a cabin-facing camera on the front windshield (easiest). Second, a rear deck or roll bar mount for a true rear-exterior view (harder cable routing). Third, an external license plate frame camera (complex, requires weatherproof housing).
3. Do you need a special dash cam for a convertible?
No, you don't need a fundamentally different or convertible-exclusive dash cam. However, you'll need specific features like a heat-resistant supercapacitor, a strong adhesive mount rated for wind exposure, and flexible support for rear or cabin camera placement.
4. Should I hardwire a dash cam on a convertible?
Yes, if you can. A hardwire kit gives you full 24/7 parking surveillance. It's especially beneficial for a convertible compared to most vehicles. The soft top offers less physical security than a hardtop or sedan when you're parked and away from the car.
5. How do I protect my dash cam when the top is down?
Maintain a sufficiently low-profile mount to reduce wind drag. Choose a capacitor-based model that handles direct sun better than a battery-powered one. Also, consider removing a portable unit entirely when parking with the top down in high-theft areas.

Leave a comment
All comments are moderated before being published.
This site is protected by hCaptcha and the hCaptcha Privacy Policy and Terms of Service apply.