Inside this Article:
- 1. Introduction
- 2.How to Install My Dash Cam?
- 3. Do I Need Professional Installation?
- 4. Setting Up Key Features on Your F77 Dash Cam
- 5. How to Connect to the WiFi?
- 6. How to Access Your Video Clips on a Computer?
- 7. Conclusion
1. Introduction
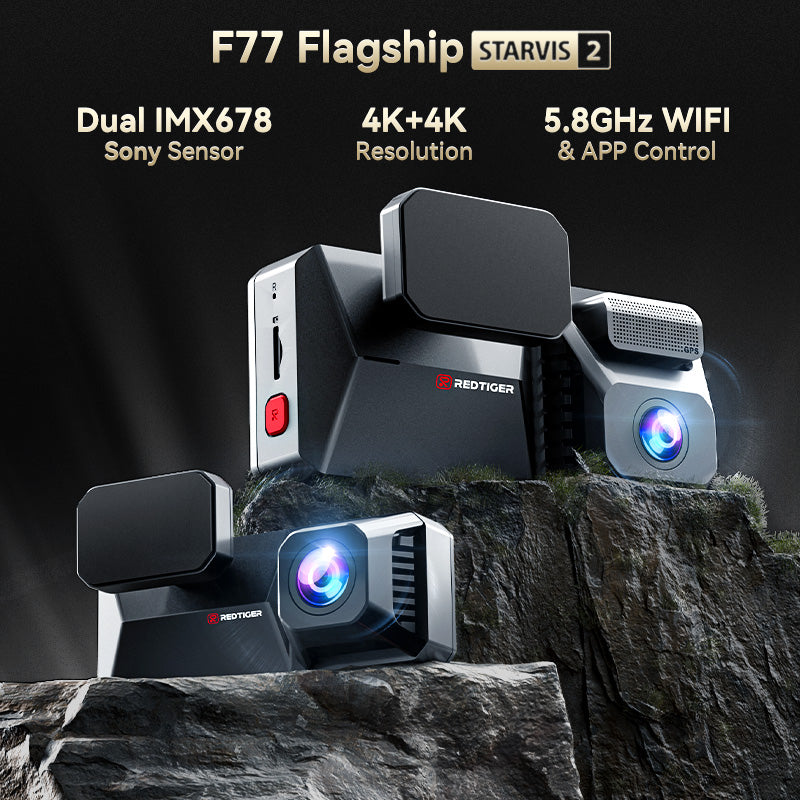
The F77 dash cam is one of our most advanced models, designed to capture high-quality footage, with features such as dual IMX678 4K front and rear cameras, 5.8GHz WiFi, and reliable eMMC storage.
These new features allows for seamless recording, faster video transfer, and more stable storage.
This comprehensive guide will walk you through the setup, installation, and some key features of your F77 dash cam, so you can make full use of it.
2.How to Install My Dash Cam?
Installing your F77 dash cam can be done with either a simple installation using the car charger, or a more advanced hardwire installation. Here’s how to set up each option:
-
Simple Installation:
- Choose a Mounting Location: Select an optimal spot on your windshield for the dash cam, ideally near the rearview mirror for the best view. Clean this area, peel the static sticker, and attach it firmly to the glass.
- Connect and Hide Cables: Connect the dash cam to the rear camera (note: the rear camera is not waterproof, so it should be installed inside the car). Route the cables neatly along the vehicle’s trim to keep them hidden and secure.
- Power Connection: Plug the dash cam into your vehicle’s cigarette lighter socket using the provided car charger to complete the setup.
-
Hardwire Installation:
- Locate the Fuse Box: Open fuse box of your vehicle.
- Connect the Hardwire Kit: Attach the red wire labeled “ACC” to a fuse slot that activates with ignition. Connect the yellow “Battery” wire to a slot that has constant power. The black wire is for grounding; typically, it can be attached to a metal bolt or screw within the fuse box.
- Enable Parking Mode: This setup allows the dash cam to continue monitoring even with the engine off, without draining the car battery.
3. Do I Need Professional Installation?
Whether you need professional installation depends on your need:
-
Simple Installation: If you plan to use the car charger, you can install it yourself with the help of the pry tool included in the box. Simply follow the installation steps or watch our instructional video. However, this installation method cannot activate the parking monitoring mode. This means that if someone collides with your car while parking, the dash cam will not be able to record it because it is not powered on.
-
Hardwire Installation: For parking mode, we recommend professional installation, especially if you are unfamiliar with car fuse boxes. Professional installation in the U.S. typically costs around $200, but it ensures that all connections are safe and properly set up. However, if you have experience with car electronics, you can try to install the hardwire kit by yourself to save this money.
4. Setting Up Key Features on Your F77 Dash Cam
Once your F77 is installed, following settings to get the most out of its capabilities:
-
Resolution Settings: Set the video resolution to 4K+4K to capture ultra-clear footage from both cameras. This helps ensure critical details like license plates are visible.
-
Time Zone: Adjust the time zone to your location, and ensure accurate date and time stamps on all recordings. In addition, if you are in a country that implements daylight saving time, such as the United States, please do not forget to turn on the DST function during the summer.
-
Voice Control: Activate voice control to operate your dash cam hands-free. Use commands like "turn on WiFi", "show rear camera" to simplify operations.
-
Loop Recording: Enable loop recording to automatically overwrite the oldest footage once storage is full. This ensures continuous recording without manual deletion. You can change the video clip to 1 minute, 3 minutes, or 5 minutes according to your needs. Please note that the longer the video clip, the longer the data transmission time.
-
G-Sensor Sensitivity: Set the G-sensor sensitivity based on your driving conditions. This feature detects sudden movements and locks the footage in case of an accident. We recommend setting it to Medium to avoid unnecessary recording when you pass through speed bumps.
-
Parking Monitor Mode: Enable parking mode to have the dash cam record any detected movement or impact while parked. This feature requires the hardwire kit to prevent battery drain.

5. How to Connect to the WiFi?
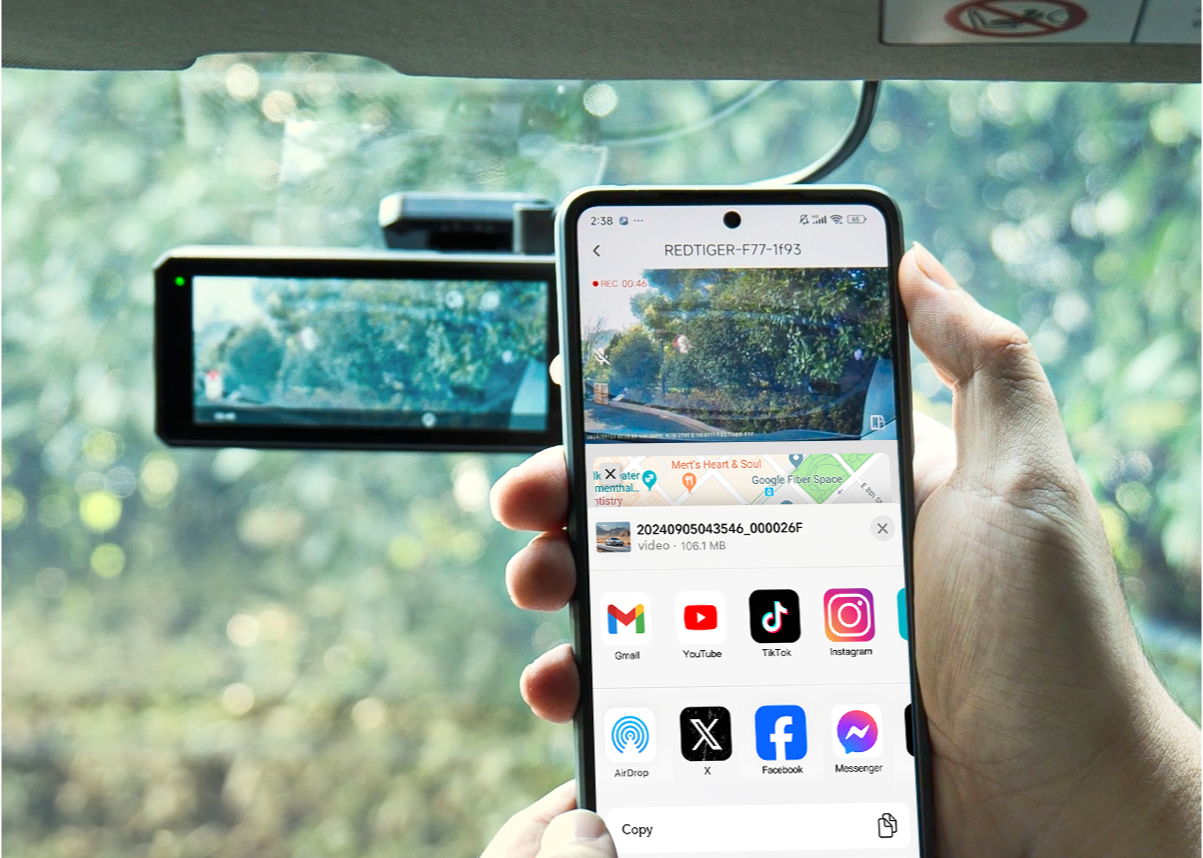
Connecting your F77 dash cam to WiFi allows you to download videos and manage settings through your smartphone. Here’s how:
- Download the Redtiger App: Visit our website or app store to download the Redtiger app on your smartphone and open it.
- Enable Dash Cam WiFi: On the F77, either tap the WiFi icon on the screen or speak the voice command “turn on WiFi” to activate it.
- Connect to WiFi: On your phone, find the F77’s WiFi on your phone network setting, and enter the default password 12345678.
- Return to the App: Go back to the Redtiger app. Your dash cam should now be connected, allowing you to view, download, and manage video files.

6. How to Access Your Video Clips on a Computer?
Accessing F77 footage on your computer is easy using the Redtiger Player for viewing and GPS data tracking.
- Download Redtiger Player: Visit our website and download Redtiger Player from Google Drive to your computer, then complete the installation process.
- Connect Dash Cam to Computer: Use the included USB-C cable to connect the F77 dash cam to your computer.
- Open Redtiger Player: Launch the player and drag your desired video file into the player. You’ll be able to view footage with GPS route tracking for precise location data.
7. Conclusion
The F77 dash cam is equipped with advanced technology to make your driving experience safer and more convenient.
By following this comprehensive guide, you’ll be able to properly install the F77, configure its key features, and seamlessly access your footage through WiFi or a computer.


Leave a comment
All comments are moderated before being published.
This site is protected by hCaptcha and the hCaptcha Privacy Policy and Terms of Service apply.